
Embroidered Company Apparel in Minneapolis–St. Paul: A Practical Ordering Guide

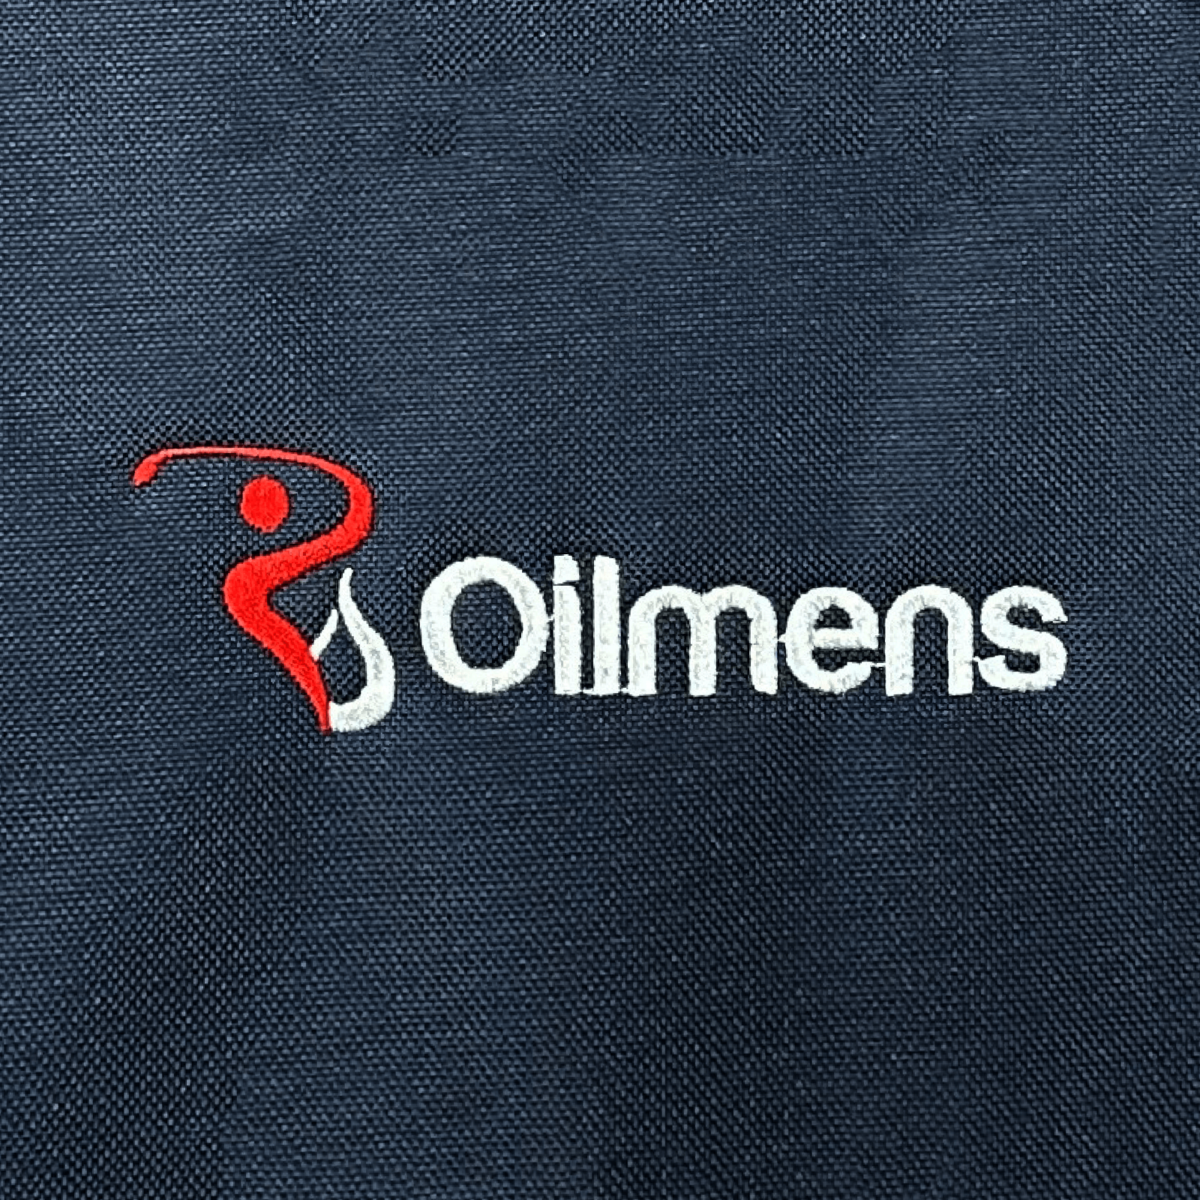
Branded apparel is one of the few marketing expenses your team uses every day. A well-made embroidered polo or jacket keeps showing up at client meetings, job sites and trade shows for years. A cheap one ends up in the back of a drawer.
This guide walks Minneapolis and St. Paul businesses through the decisions that matter most when ordering embroidered company apparel. It covers choosing garments that work in a Minnesota climate, getting your logo ready for stitching, and planning sizes and timing so the order goes smoothly.
Start with how the apparel will be used
Before you pick a single garment, decide what the apparel needs to do. The answer narrows your options fast.
- Client-facing staff (sales, front desk, account managers) usually want polos, button-downs and quarter-zips that look sharp in an office or a client’s lobby.
- Field and service crews need durable work shirts, soft-shell jackets and caps that hold up to daily wear and frequent washing.
- Event and trade show teams benefit from one consistent, recognizable look, so a single color and garment style across the whole booth works best.
- Company-wide gear for every employee should favor comfortable, versatile pieces people will choose to wear on their own time, like hoodies, fleece and hats.
Many companies end up with a small “uniform kit”: one or two shirt options, a layer for cold weather, and a hat.
Dress for a Minnesota year
Apparel that only works in July will sit unused for most of the year here. Plan a wardrobe that covers all four seasons:
- Summer: Performance polos and moisture-wicking tees for outdoor work, events and golf outings.
- Spring and fall: Quarter-zip pullovers, lightweight fleece and vests. These are the most-worn pieces in many Twin Cities offices.
- Winter: Soft-shell and insulated jackets for anyone working outdoors or commuting, plus knit beanies.
Embroidery is especially well suited to outerwear and heavier fabrics. The stitched logo holds its shape through repeated washing and won’t crack or peel the way some printed decorations can. If you are weighing the two methods, our guide to embroidery vs. screen printing breaks down the tradeoffs.
Get your logo ready for embroidery
Your logo has to be converted into a stitch file before it can be embroidered. This step is called digitizing. A digitizer maps out every stitch: its direction, its density and the order the machine sews it. Good digitizing is the difference between a crisp logo and a puckered one.
To make digitizing go smoothly:
- Send vector artwork if you have it. AI, EPS, SVG or PDF files from your designer are ideal. A high-resolution PNG can work too.
- Expect to simplify a little. Gradients, very thin lines and tiny text don’t translate well to thread. Small taglines under a logo are often dropped or enlarged for left-chest placements.
- Share your brand colors. Pantone (PMS) references help match thread colors as closely as possible.
- Approve a proof before production. You’ll see the logo’s size, placement and thread colors before anything is stitched.
Digitizing is usually a one-time setup. Once your stitch file exists, reorders use the same file, so your logo looks identical from batch to batch.
Choose the right placement and size
The left chest is the standard placement for company apparel. Left-chest logos are typically in the range of three to four inches wide, which reads clearly without overwhelming the garment. Other common placements include:
- Right chest or sleeve for a secondary mark, a department name or an employee’s name
- Back yoke (just below the collar) for a small, subtle logo
- Full back on jackets for field crews who need to be identified from a distance
- Front panel of a cap (see our guide to custom embroidered hats in Minneapolis)
Keep placements consistent across garment types so your team looks coordinated even when people wear different pieces.
Plan sizes and quantities
Size collection is where most company orders slow down. A few habits help:
- Collect sizes in one place. A simple shared form with name, garment and size saves a lot of back-and-forth.
- Offer both unisex and women’s cuts where the garment comes in both. Fit is the biggest reason people stop wearing company apparel.
- Order a few extras in common sizes for new hires and replacements, so you aren’t placing a tiny reorder every few weeks.
- Pick garments with staying power. Choose a style and color that will still be available next year, so reorders match.
Work backward from your deadline
If the apparel is for a specific date, like a product launch, a conference or a company kickoff, start from that date and work backward. Leave time for collecting sizes, approving the proof, production and pickup or delivery.
Demand also has busy seasons. Back-to-school, spring sports and the November-to-December holiday rush all fill production calendars, and popular blank garments can sell out at suppliers during those stretches. When you request a quote, ask for the current production timeline so you can plan around it.
Why ordering locally helps
Working with an embroidery shop in the Twin Cities makes the process easier to manage:
- You can see and feel garment samples before committing to a style.
- You can talk through logo changes directly with the people doing the work.
- You can pick up finished orders at our shop at 2626 N. 2nd St. in North Minneapolis, or arrange delivery around the metro.
- Reorders are simple because your stitch file, garment choices and thread colors are already on record.
We work with businesses across Minneapolis, St. Paul and the surrounding suburbs, from Bloomington and Edina to Woodbury, Maple Grove and beyond.
Ready to outfit your team?
Tell us what your team needs, how many people you are outfitting and when you need it. We’ll recommend garments, prepare your logo for embroidery and send a proof before anything is stitched. See our embroidery services or contact us to request a quote.